TABLE OF CONTENTS
1. Accessing the Course Creator
1. Accessing the Course Creator
Go to the Course Library.
Navigate to the Custom courses tab.
Click "Create a Course" to get started.
2. Creating a Course
Click "Create New Course" to get started.
Follow on screen instructions: Enter a title, upload a file with course contents and click "Create my course".
Once the course is created, you'll get an email confirmation. If you face issues, see Course Creator: FAQ for reference.
By default, a Text-Based Course will be created. In total there are two types of course layout available:
Text-Based Course
A text-based course is generated and enhanced using AI. Each module can then be edited in detail – visually (for example fonts and sizes) and in terms of content, right down to completely rewriting paragraphs if you need to.
To edit content, find a block you want to update and click "Edit" button in its top right corner.PowerPoint Course
A PowerPoint Course uses your existing .pptx or .ppt file and keeps everything exactly as it is – text, visuals, layout, and slide order. It’s only available for PowerPoint files and can’t be edited inside Course Creator. To make changes, update the original PowerPoint and reupload it as a new custom course.
3. Creating a Test
A course is created by default – Course Creator uses your content to generate up to 20 multiple choice questions.
You can edit or delete any question or answer at any time: just click “Edit” and make your changes.
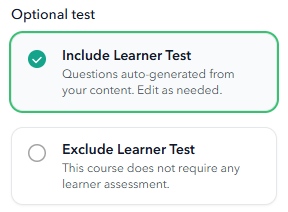
The test is optional and can be turned off by selecting “Exclude Learner Test” in the right-hand panel.
You can include or exclude the test whenever you like.
4. Preview Your Course
Once all your slides are added:
Click the “Preview” button in the top right.
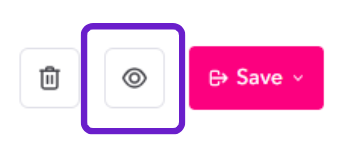
You’ll see the course exactly as a learner would.
Check for formatting, content flow, and any errors. Make edits as needed before publishing.
5. Publishing the Course
When you're happy with your course, click “Publish”.
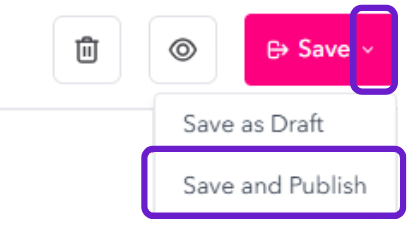
You’ll be asked to confirm that the course is ready to go live.
Once published, the course will be added to your library and available for enrolment.
6. Managing the Course
After publishing, you can:
Edit the course at any time via the Custom Courses tab.
Duplicate it if you want to build a similar version for another team.
Archive or delete it if it’s no longer in use.
7. Tracking & Reporting
Course completion and learner progress are tracked like any other iHasco or custom course.
Learners receive a certificate upon completion.
Use your standard reporting tools to monitor progress.
To learn more about Course Creator see Course Creator: FAQ.
Was this article helpful?
That’s Great!
Thank you for your feedback
Sorry! We couldn't be helpful
Thank you for your feedback
Feedback sent
We appreciate your effort and will try to fix the article